Key Steps for Accurate Drone Mapping from Point Cloud Data
Why a Processing Checklist Matters for Drone Photogrammetry
Drone photogrammetry has become a standard method for producing detailed site maps. The process turns a series of overlapping aerial images into accurate 2D orthomosaics and 3D models. But the quality of the final output depends heavily on how carefully you handle each stage of the processing pipeline. A small oversight early on - wrong overlap, poor georeferencing, or inconsistent ground sampling distance - can degrade a point cloud to the point where it is unusable for measurement or analysis. Having a clear processing checklist helps you catch these issues before they compound. It also makes the work repeatable, so every project meets a consistent standard. Below is a practical set of points to check, with the reasoning behind each one.
Check Your Raw Imagery Before Processing
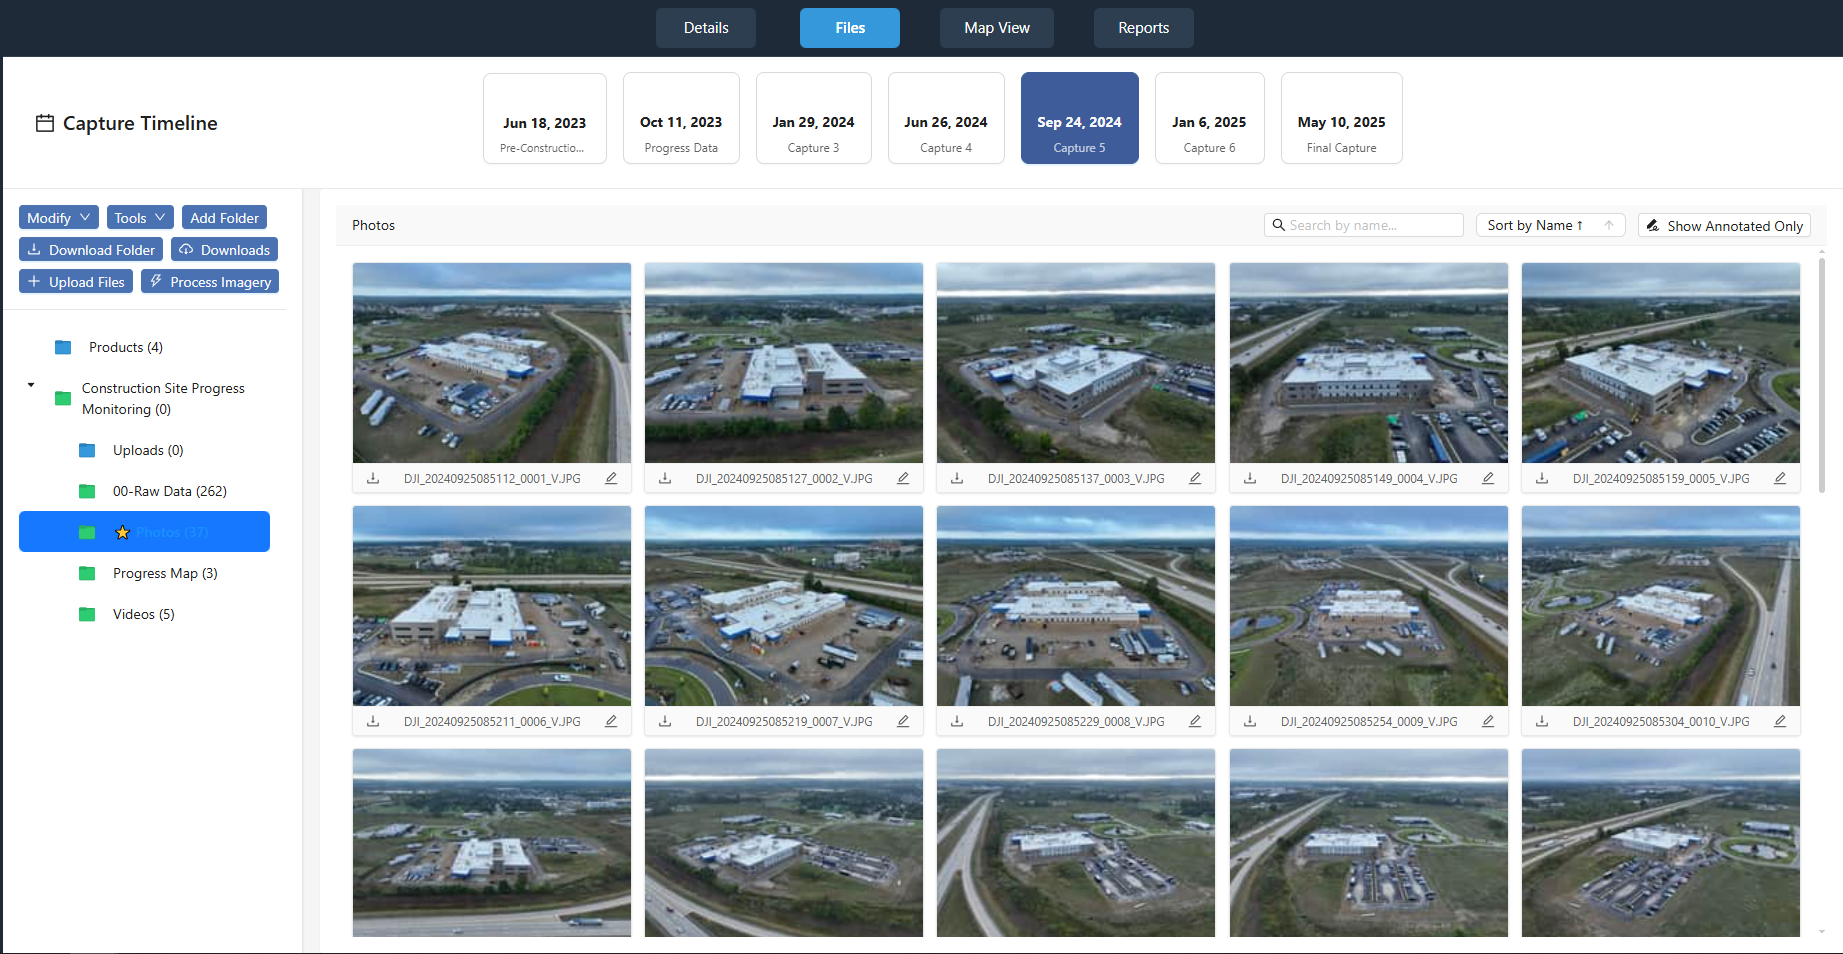
Raw imagery is the foundation of any photogrammetry project. If the photos are blurry, underlit, or taken with inconsistent exposure, no amount of software tweaking will fix them. Start by reviewing every image for motion blur - fast shutter speeds help, but a gust of wind during capture can still cause softness. Check that the sun angle was consistent across the flight. Drastic changes in shadow direction between images cause the photogrammetry engine to struggle with feature matching. Also confirm that all images have the same resolution and that no files are corrupted. A quick visual scan through the set, or a script that checks file integrity, saves hours of troubleshooting later.
Verify Flight Overlap and Coverage
The photogrammetry algorithms rely on overlapping images to triangulate points. If the forward overlap (along the flight line) or side overlap (between passes) falls below the recommended minimum, you will get holes in the point cloud and gaps in the orthomosaic. For most mapping projects, aim for at least 75 percent forward overlap and 60 percent side overlap. This redundancy gives the software enough visual data to calculate depth and to stitch images together reliably. If the flight plan was automated, double-check the log files to confirm the actual overlap values. Manual flights need extra scrutiny: it is easy to drift off course and reduce overlap without noticing.
Set a Consistent Coordinate System
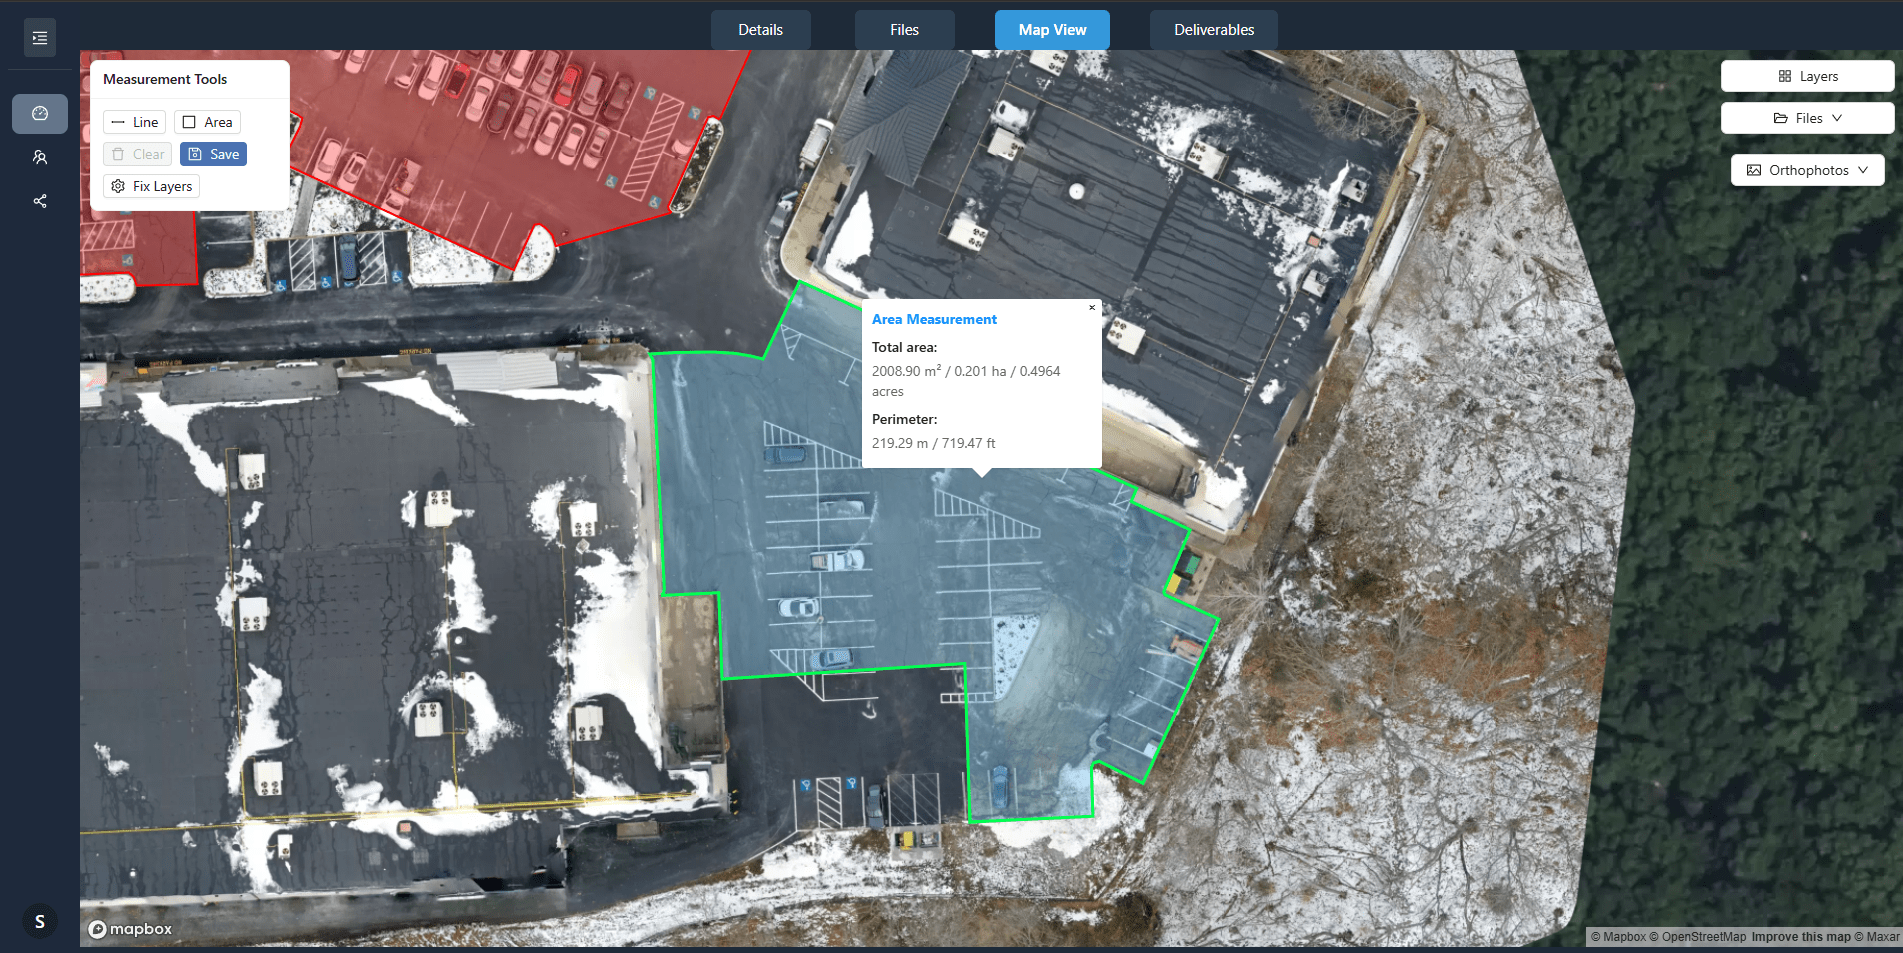
Every point cloud needs a defined coordinate system for georeferencing. If your drone used a built-in GPS, the raw images carry WGS84 coordinates by default. But your final deliverables - the orthomosaic and point cloud - should use a local projected coordinate system that matches the site's location. For example, a project in the UK would typically use OSGB36, while a US project might use a state plane system. The key is to apply the correct coordinate system at the start of processing, not as an afterthought. Switching systems after reconstruction can introduce shifts that are hard to undo. If the site requires high absolute accuracy, you may need ground control points with known coordinates from a survey-grade GNSS.
Control Ground Sampling Distance (GSD)
Ground sampling distance is the distance between pixel centers measured on the ground. It tells you the level of detail in the imagery. A smaller GSD means finer detail but also larger file sizes and longer processing times. For most topographic mapping, a GSD of 1 to 3 cm per pixel is sufficient. If you are mapping small features like cracks in pavement or individual plants, aim for below 1 cm. The GSD is determined by flight altitude, camera sensor size, and focal length. Before you start processing, confirm that the planned GSD matches the project requirements. If the images were captured at different altitudes, the GSD will vary across the dataset, which can cause uneven point density in the point cloud.
Review the Quality of the Point Cloud
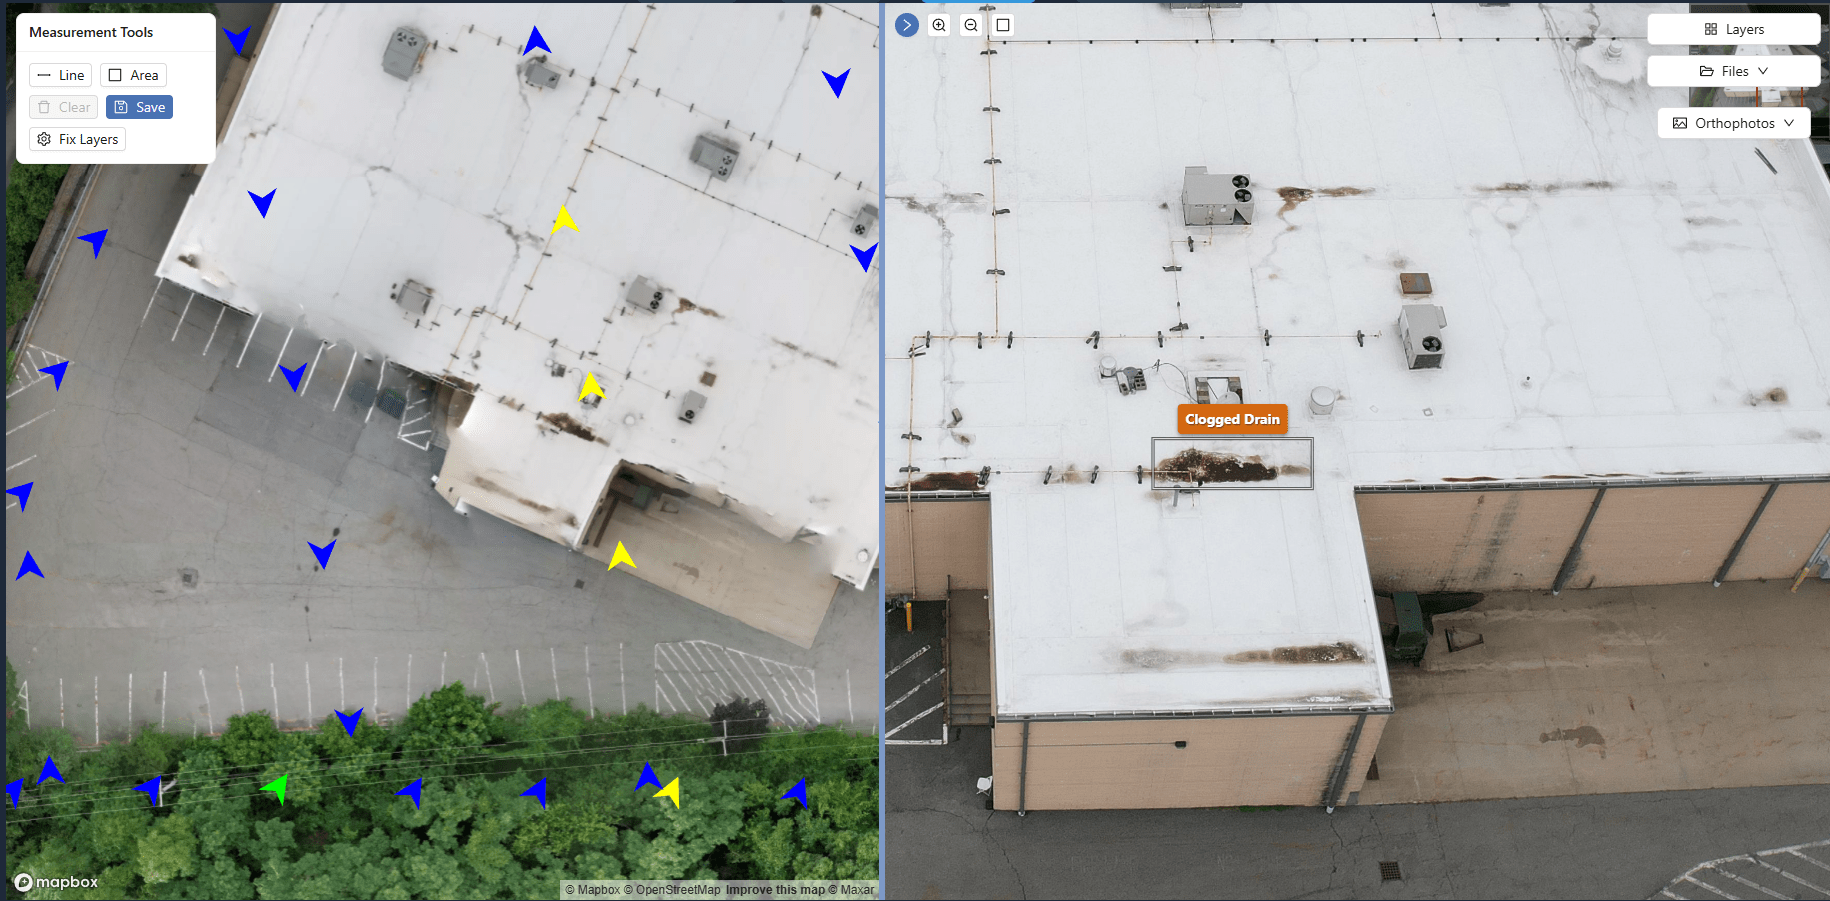
After processing, the point cloud is the intermediate product that represents the site's surface as a collection of XYZ coordinates. A good point cloud is dense enough to capture the terrain's shape but not so noisy that it buries the real features. Check for outliers: points that float above or below the true surface, often caused by reflections off water, shiny metal, or moving objects like vehicles. Use the software's statistical tools to filter points by elevation, intensity, or classification. Also look at the point spacing. If some areas have far fewer points than others, the reconstruction may have failed there due to poor texture or low overlap. Re-flying those sections is better than trying to interpolate missing data.
One of the most common mistakes is assuming that more points always give a better model. Actually, a clean, well-filtered point cloud with moderate density is more useful for surveying and design than a dense cloud full of noise. The process of turning flight photos into maps works best when you balance detail with reliability. Spending time on this quality check saves rework downstream.
Validate Georeferencing Accuracy
Georeferencing is what aligns your point cloud and orthomosaic to real-world coordinates. Even with a good GPS on the drone, the absolute accuracy may be off by a meter or more without ground control. To validate, compare a few checkpoints in the point cloud against known survey points on the site. Measure the horizontal and vertical differences. If the error is larger than the project tolerance - often 5 to 10 cm for engineering work - you need to adjust the georeferencing. Some software lets you apply a shift or a more complex transformation after processing. For high-accuracy projects, include ground control targets in the flight area that are surveyed to sub-centimeter precision. The extra effort at capture time pays off in the final deliverables.
Inspect the Orthomosaic for Seam Lines and Color Balance
The orthomosaic is the stitched, georeferenced image that forms the base layer for many mapping tasks. Look for visible seam lines where images join. Good photogrammetry software blends these transitions, but differences in exposure or color balance can leave faint lines. Also check for "ghosting" - a double-image effect that happens when the stitching algorithm fails to align features correctly. This is often caused by insufficient overlap or by moving objects like people or trees. A quick pan across the orthomosaic at full resolution will reveal most problems. If you find issues, you may need to reprocess with different settings or re-fly the affected area.
The entire workflow of turning flight photos into maps depends on how well these checks are applied. Each step builds on the previous one, so a problem discovered late often traces back to an early oversight. By following this processing checklist, you reduce the chance of delivering a point cloud or orthomosaic that does not meet the project's accuracy needs. The time invested in validation is never wasted - it produces a dataset that engineers, surveyors, and planners can trust for their decisions.